WELCOME!

Welcome to Le Beau Paon Victorien! I'm so glad you stopped by!

Here you will find a variety of things that might interest you: food, books, house decor, crafty things, random thoughts, dishes, gardening and more!

Spend some time with us and happy reading!


Tuesday, December 6, 2011

Christmas 2011 Outdoor Display


I still haven't gotten the big Victorian tree up yet ( probably this weekend!), but I did take advantage of the somewhat warm temperatures this last weekend to put together my Christmas outdoor display.

When I say "warm", I mean 40 degrees....which is warm for December in Wisconsin!
Last year we had snow already at this time and the weather was very cold and windy when I did my outdoor display. It really was not pleasant!


This year I used fresh garland again, although I didn't make it quite as extravagant as last year, since we aren't having a Christmas party this year.
Click HERE to see last year's display.


The only real big difference between this year and last year's is the addition of two lighted fake little trees that I put in the big urns on either side of the doorway. I didn't have those urns last year (I bought them in March last year.)  It has been fun to find ways to incorporate them into my decor now that summer is over and all the flowers are gone!

You can see them a little better in this picture.


I found the set of two 3 foot tall trees, with lights, at Target. Each tree fits into a little red pot which is weighted so that you can place them outdoors and the wind won't knock them over. I actually "planted" the trees in my urns, which are still full of dirt. I dug a hole in the dirt and stuck the pots into the hole and covered them up so they'd be steady if it gets windy. The set of two trees, pre-lit, with the pots, was only $24. It worked out perfectly for my display.

My Christmas wreath, which I made for the house the first Christmas we lived here, is still looking pretty good. My cardinals are starting to look a little faded however. I might try to pick up some new cardinals during the after-Christmas sales and replace them for next year. They are just wired onto the wreath and can be easily removed.


Thanks for stopping by!

Photobucket

Friday, December 2, 2011

Christmas Theme Tree 2011: Peacocks!

At last Christmas decorations are starting to appear at Le Beau Paon!

I've really been slacking getting things set up for Christmas. So many people I know have their outdoor lights and their trees up..........many blogs that I follow have had Christmas decor featured in their posts since before Thanksgiving.

I never decorate for Christmas until after Thanksgiving is over and technically it is only December 2nd, so I guess I'm not as much of a slacker as I thought!


As some readers probably remember, I put up two Christmas trees every year. This small tree that we put up in the front entry hall by the staircase is my "theme tree". Every year I plan a different theme. This year, I did a blue and green peacock tree. To see last year's theme tree, click HERE.

Here it is with lights on, although it's hard to see them..........


Ooooooohhhh...............
Typically I have white lights that go on this tree, but I decided that a peacock tree should have colored lights. I always have fun planning out what my tree for the next year should be. I purchase all the ornaments and decorations for the next year's tree during all the after-Christmas sales. This way I can load up without spending a lot of money. If I hit the sales in January, I can usually find everything at 70% off and I can get more than enough decorations and ornaments for my theme tree for about $20 or $25.


This weekend I hope to get the outdoor decorations set up and also have Erik help me drag the big tree for the parlour down from the attic!

Thanks for stopping by!
I'll be joining Feathered Nest Friday with French Country Cottage
and
Show and Tell Friday with My Romantic Home


Photobucket

Saturday, November 26, 2011

Food: Thanksgiving Pies

It really wouldn't be Thanksgiving without stuffing a turkey.....and stuffing your face at the same time, right??


I always look forward to candied yams at Thanksgiving.......and PIE. This year I was in charge of brigning dessert to my family's Thanksgiving dinner. I made one pumpkin pie and one cranberry pie.

The pumpkin pie recipe I always use was my Grandma Helen's. I always make my own crust too. No store-bought crust enters my household.

Before adding whipped cream.
I always get lots of compliments on this pie recipe and people request it all the time.
It's super easy also.


Tawny Pumpkin Pie

1 1/4 cup solid pack pumpkin (or fresh)
3/4 cup sugar
1/2 tsp salt
1/4 - 1/2 tsp ground ginger
1-2 tsp cinnamon
1 tsp flour
2 eggs
1 cup evaporated milk
2 Tbl water
1/2 - 1 tsp vanilla extract

Put all ingredients in a blender, adding milk last. Blend until well mixed. Pour into prepared pie crust.
 Bake at 425 degrees for 10 minutes.
Then bake at 350 degrees for 35 minutes or until set.

I've made this pie using both fresh pumpkin or the canned kind. Fresh pumpkin is a little more watery looking, which can be disconcerting at first, but it still sets up nicely. It will also not look as "orange"; canned pumpkin has food coloring added to it to give it that "orangey" look. Fresh pumpkin will look more yellow, but after all the cinnamon is added and it's cooked, it will look pretty much the same.
The kind of pumpkins you want for pie-making are actually quite small, round in shape and the skin will look more brownish-orange in color, rather than orange. If you buy them at a market or grocery store they will often be marked as "pie pumpkins" by the store to make it easier for consumers to identify.
You want to cook the pumpkin first, to make the flesh easy to scoop out for pies. My grandma would cut the pumpkin in half, scoop out the seeds and guts, and then put the two halves on a shallow baking pan in the oven. I don't remember the exact cooking temp, probably 350 or 375, and we would just cook them until the flesh was soft and fork tender and then we could just scoop it out of the shells.


I also made a Nantucket Cranberry Pie:


This is a delicious alternative to the traditional pumpkin pie. I actually make this pie often at other times of the year; it's great for 4th of July picnics, Christmas time, or actually ANY time!


The "crust" is actually on the top, so it's pretty quick and easy to make this one. Whole fresh or frozen cranberries, chopped pecans and sugar go in a round cake pan or pie pan that has been generously buttered.

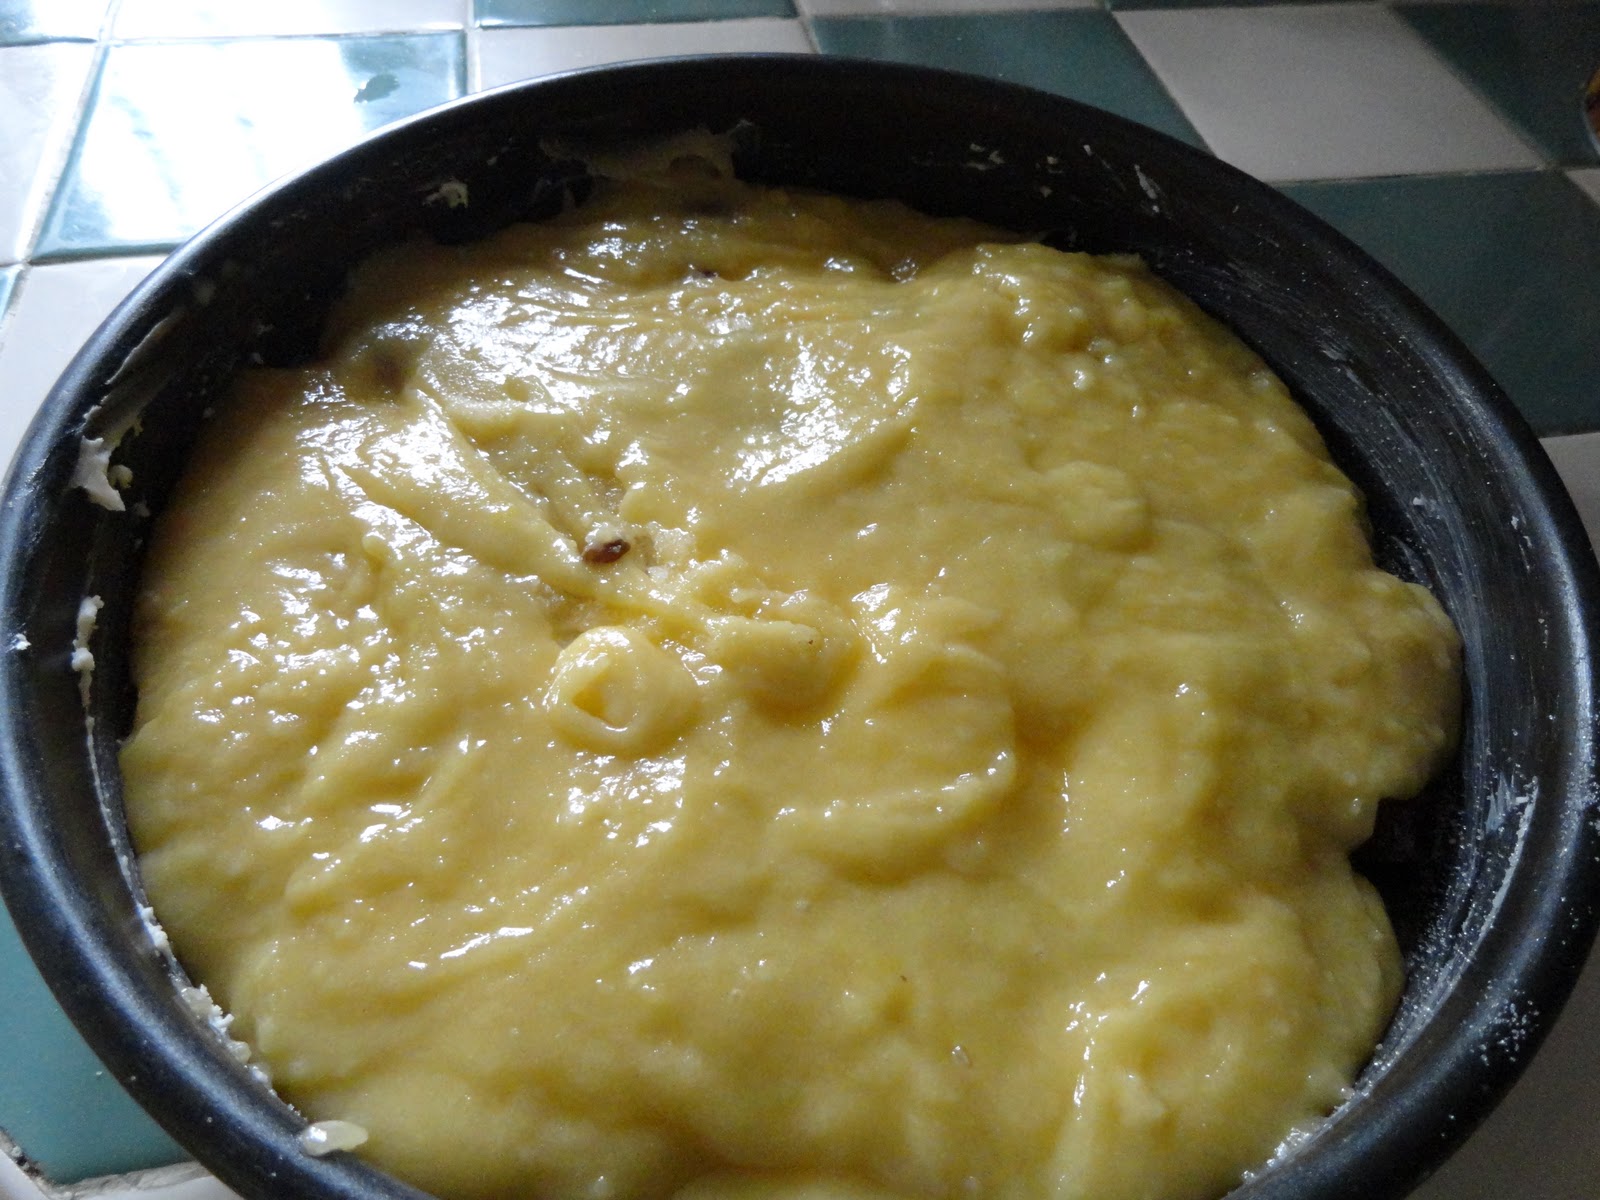
The top "crust" is made with sugar, flour, eggs, almond extract and more butter.


The batter is poured over the top of the cranberries and then baked. Mmmm!


Nantucket Cranberry Pie

Butter, for greasing
2 cups (heaping) cranberries, fresh or frozen
3/4 cup pecans, chopped (measure, then chop)
2/3 cup sugar
1 cup flour
1 cup sugar
1 stick unsalted butter, melted
2 eggs, slightly beaten
1 tsp almond extract
1/4 tsp salt
1 Tbl sugar, for sprinkling

Preheat oven to 350 degrees
Generously butter a pie pan or round cake pan. Add cranberries to bottom of the pan, sprinkle with chopped pecans, then sprinkle with 2/3 cup sugar.
In a mixing bowl, combine flour, 1 cup sugar, melted butter, eggs, almond extract, and salt. Stir gently to combine.
Pour batter slowly over the top in large "ribbons" in order to evenly cover the surface. Spread gently if necessary. Bake for 45-50 minutes. 5 minutes before removing from oven, sprinkle 1 Tbl sugar on suface for a little extra crunch.
For serving, cut into wedges and serve with whipped cream or a scoop of vanilla ice cream.


                                                    Delicious!!! Thanks for stopping by!

Photobucket

Friday, November 25, 2011

Antique Mall Shopping Trip: Some New Finds!

Recently my mother-in-law asked to us to join her in visiting a favorite antique mall in Columbus,WI. We often try to go up there once or twice a year with our "wish lists". Click HERE to see my post from my last visit.


One of the things on my wish list I was able to find: a pretty footstool or hassock for the parlour.


I love the pretty needlepoint cover! The base and legs are actually cast iron, but it's been painted.

The base is very decorative, but I hate this color paint they used. I'm going to try and remove the paint and leave it the original color, which is black.


I resisted buying more vintage linens; I love them, but I have so many that I told myself I wouldn't buy any. However, I did buy this one tablecloth. It's so festive and I thought how pretty it would look on my kitchen table as a Christmas tablecloth, that I made an exception!


This was one of Erik's finds. Some time ago we had seen a silver butter dome at a local shop, admired it but didn't buy it. Later, we returned to the shop on another day after deciding that we wanted it, but of course, it was gone by that time.  A silver butter dome was on Erik's wish list and he found one for us!
A little tarnished.


Erik liked that it has lion heads and feet on it; it matches the silver chafing dish with lion's heads we acquired awhile ago.


It cleaned up very nicely, of course!


Inside the flip-top dome, a pretty glass dish for the butter! This will be so pretty on our dining room table.


I also found a couple of blue transferware Spode plates to add to my collection:


 Those dark looking spots are shadows. I was taking these pictures at night and the kitchen light above me always casts weird shadows when I'm trying to take photos. (It doesn't seem to matter which way I stand!)


I also found this antique ironstone blue transferware plate that is very similar to some of my other ironstone blue transferware: (Again, sorry for the weird shadows and it's also wet: I was trying to get all the stickers off!)
It has a maker's mark for TJ & J Mayer Co in England. The pattern is called "Florintine", which is also marked on the back. It's dated to probably c.1843.


It was made by a different maker than my other ones, but the design is so similar and the color identical:

Here it is pictured next to a small bowl that I already have (left). The bowl is marked "Medici" by M.V. &Co.  M.V. & Co stands for "Mellor Venables and Company" and was one of many potteries in Staffordhsire, England. It appeared to be in operation between the 1830s-1850s.

And this (below) is one of a set of  two small salad plates that were made by the W.Adams Co. in England c.1850s-1860s. The pattern name is called "Columbia". I had bought these two plates many years ago.
I mostly use these antique ironstone dishes for display since I have only a few pieces, but I'm always looking for more.


I also picked up this vintage tray for $2 !
I saw one of these recently somewhere else, but it was pretty banged up. This one has a few scratches, but the colors are still good and it has no rust on it. I love this tray. My mother had one just like it when I was a kid!!!
I'm sure she must have gotten rid of hers a long time ago; or maybe not! I should ask her if she still has it somewhere.


                                               I just love the retro graphics; so fun and bright!


I can always use another big tray, too. When I'm not using it, I'm going to keep it up here on top of the kitchen cabinets with all my vintage tins.

Thanks for stopping by!

Photobucket