WELCOME!

Welcome to Le Beau Paon Victorien! I'm so glad you stopped by!

Here you will find a variety of things that might interest you: food, books, house decor, crafty things, random thoughts, dishes, gardening and more!

Spend some time with us and happy reading!


Saturday, November 26, 2011

Food: Thanksgiving Pies

It really wouldn't be Thanksgiving without stuffing a turkey.....and stuffing your face at the same time, right??


I always look forward to candied yams at Thanksgiving.......and PIE. This year I was in charge of brigning dessert to my family's Thanksgiving dinner. I made one pumpkin pie and one cranberry pie.

The pumpkin pie recipe I always use was my Grandma Helen's. I always make my own crust too. No store-bought crust enters my household.

Before adding whipped cream.
I always get lots of compliments on this pie recipe and people request it all the time.
It's super easy also.


Tawny Pumpkin Pie

1 1/4 cup solid pack pumpkin (or fresh)
3/4 cup sugar
1/2 tsp salt
1/4 - 1/2 tsp ground ginger
1-2 tsp cinnamon
1 tsp flour
2 eggs
1 cup evaporated milk
2 Tbl water
1/2 - 1 tsp vanilla extract

Put all ingredients in a blender, adding milk last. Blend until well mixed. Pour into prepared pie crust.
 Bake at 425 degrees for 10 minutes.
Then bake at 350 degrees for 35 minutes or until set.

I've made this pie using both fresh pumpkin or the canned kind. Fresh pumpkin is a little more watery looking, which can be disconcerting at first, but it still sets up nicely. It will also not look as "orange"; canned pumpkin has food coloring added to it to give it that "orangey" look. Fresh pumpkin will look more yellow, but after all the cinnamon is added and it's cooked, it will look pretty much the same.
The kind of pumpkins you want for pie-making are actually quite small, round in shape and the skin will look more brownish-orange in color, rather than orange. If you buy them at a market or grocery store they will often be marked as "pie pumpkins" by the store to make it easier for consumers to identify.
You want to cook the pumpkin first, to make the flesh easy to scoop out for pies. My grandma would cut the pumpkin in half, scoop out the seeds and guts, and then put the two halves on a shallow baking pan in the oven. I don't remember the exact cooking temp, probably 350 or 375, and we would just cook them until the flesh was soft and fork tender and then we could just scoop it out of the shells.


I also made a Nantucket Cranberry Pie:


This is a delicious alternative to the traditional pumpkin pie. I actually make this pie often at other times of the year; it's great for 4th of July picnics, Christmas time, or actually ANY time!


The "crust" is actually on the top, so it's pretty quick and easy to make this one. Whole fresh or frozen cranberries, chopped pecans and sugar go in a round cake pan or pie pan that has been generously buttered.

The top "crust" is made with sugar, flour, eggs, almond extract and more butter.


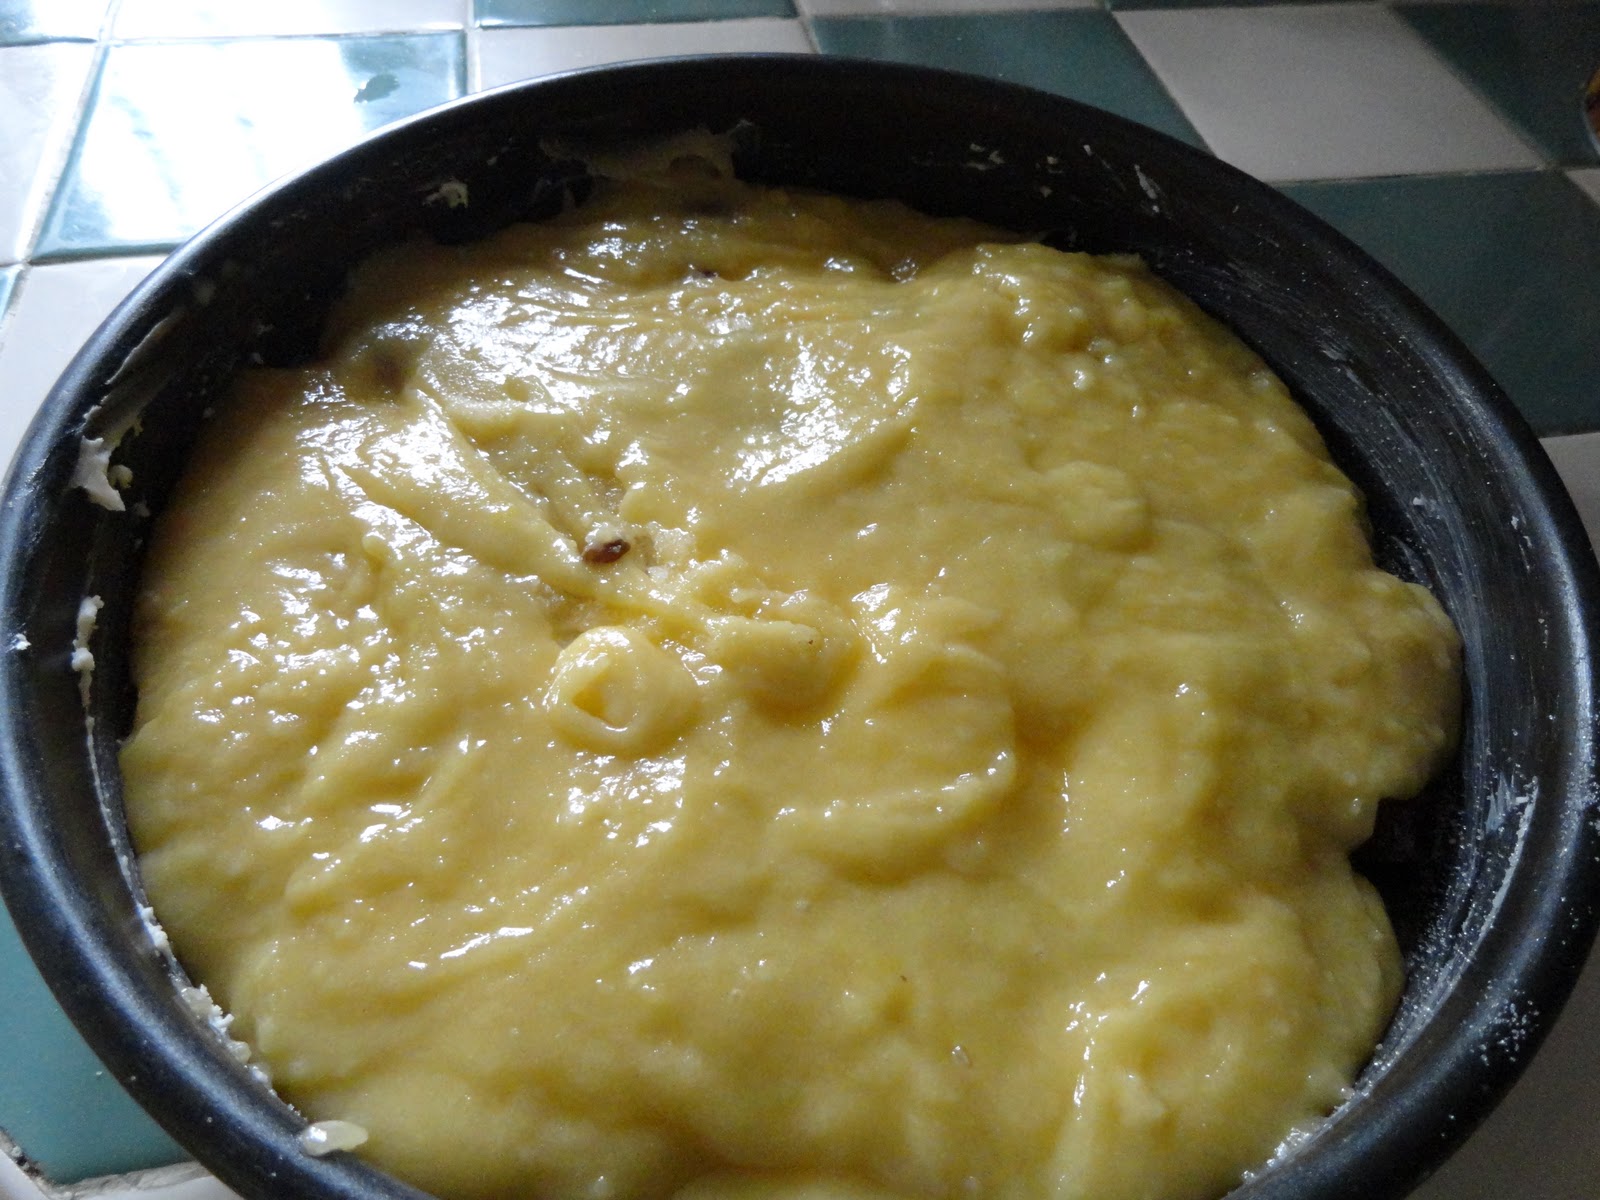
The batter is poured over the top of the cranberries and then baked. Mmmm!


Nantucket Cranberry Pie

Butter, for greasing
2 cups (heaping) cranberries, fresh or frozen
3/4 cup pecans, chopped (measure, then chop)
2/3 cup sugar
1 cup flour
1 cup sugar
1 stick unsalted butter, melted
2 eggs, slightly beaten
1 tsp almond extract
1/4 tsp salt
1 Tbl sugar, for sprinkling

Preheat oven to 350 degrees
Generously butter a pie pan or round cake pan. Add cranberries to bottom of the pan, sprinkle with chopped pecans, then sprinkle with 2/3 cup sugar.
In a mixing bowl, combine flour, 1 cup sugar, melted butter, eggs, almond extract, and salt. Stir gently to combine.
Pour batter slowly over the top in large "ribbons" in order to evenly cover the surface. Spread gently if necessary. Bake for 45-50 minutes. 5 minutes before removing from oven, sprinkle 1 Tbl sugar on suface for a little extra crunch.
For serving, cut into wedges and serve with whipped cream or a scoop of vanilla ice cream.


                                                    Delicious!!! Thanks for stopping by!

Photobucket

Friday, November 25, 2011

Antique Mall Shopping Trip: Some New Finds!

Recently my mother-in-law asked to us to join her in visiting a favorite antique mall in Columbus,WI. We often try to go up there once or twice a year with our "wish lists". Click HERE to see my post from my last visit.


One of the things on my wish list I was able to find: a pretty footstool or hassock for the parlour.


I love the pretty needlepoint cover! The base and legs are actually cast iron, but it's been painted.

The base is very decorative, but I hate this color paint they used. I'm going to try and remove the paint and leave it the original color, which is black.


I resisted buying more vintage linens; I love them, but I have so many that I told myself I wouldn't buy any. However, I did buy this one tablecloth. It's so festive and I thought how pretty it would look on my kitchen table as a Christmas tablecloth, that I made an exception!


This was one of Erik's finds. Some time ago we had seen a silver butter dome at a local shop, admired it but didn't buy it. Later, we returned to the shop on another day after deciding that we wanted it, but of course, it was gone by that time.  A silver butter dome was on Erik's wish list and he found one for us!
A little tarnished.


Erik liked that it has lion heads and feet on it; it matches the silver chafing dish with lion's heads we acquired awhile ago.


It cleaned up very nicely, of course!


Inside the flip-top dome, a pretty glass dish for the butter! This will be so pretty on our dining room table.


I also found a couple of blue transferware Spode plates to add to my collection:


 Those dark looking spots are shadows. I was taking these pictures at night and the kitchen light above me always casts weird shadows when I'm trying to take photos. (It doesn't seem to matter which way I stand!)


I also found this antique ironstone blue transferware plate that is very similar to some of my other ironstone blue transferware: (Again, sorry for the weird shadows and it's also wet: I was trying to get all the stickers off!)
It has a maker's mark for TJ & J Mayer Co in England. The pattern is called "Florintine", which is also marked on the back. It's dated to probably c.1843.


It was made by a different maker than my other ones, but the design is so similar and the color identical:

Here it is pictured next to a small bowl that I already have (left). The bowl is marked "Medici" by M.V. &Co.  M.V. & Co stands for "Mellor Venables and Company" and was one of many potteries in Staffordhsire, England. It appeared to be in operation between the 1830s-1850s.

And this (below) is one of a set of  two small salad plates that were made by the W.Adams Co. in England c.1850s-1860s. The pattern name is called "Columbia". I had bought these two plates many years ago.
I mostly use these antique ironstone dishes for display since I have only a few pieces, but I'm always looking for more.


I also picked up this vintage tray for $2 !
I saw one of these recently somewhere else, but it was pretty banged up. This one has a few scratches, but the colors are still good and it has no rust on it. I love this tray. My mother had one just like it when I was a kid!!!
I'm sure she must have gotten rid of hers a long time ago; or maybe not! I should ask her if she still has it somewhere.


                                               I just love the retro graphics; so fun and bright!


I can always use another big tray, too. When I'm not using it, I'm going to keep it up here on top of the kitchen cabinets with all my vintage tins.

Thanks for stopping by!

Photobucket


Crafty Things: 'Give Thanks' Banner

I really have no Thanksgiving decorations; I usually just leave up a few "autumnal" things, like leaves, pumpkins and gourds and the like until it's time to bring down the Christmas decorations.

Recently, however, I saw a cute project featured on a blog called Primp,(click HERE to see) that I recently started following. The "Give Thanks" banner was so cute, that I decided to make one for myself.


It was so easy to print this out on my color printer, cut out the letters and then add embellishments and other things to make the banner "my own".


click HERE to get the free printable download


After I had all the letters decorated to my satisfaction, I strung them on plain brown twine and hung them on the fireplace mantel. Fun and easy!


                                Thanks for stopping by! I hope everyone had a lovely Thanksgiving holiday!


Photobucket


Saturday, November 19, 2011

Food: Harry Potter's Butterbeer Cupcakes

A few weeks ago I saw this recipe on the blog Purple Chocolat Home click HERE, and I decided that I would have to try this one for stamb club, since I am hostess this month.

If you have not visited Jacqueline's blog before, I recommend popping over there; she has lots of great recipes and many other wonderful things to share!


I used the same recipe for everything, I just did a variation with the presentation, since I was taking them to a party.

I made the little signs using some of my stamping punches and a toothpick. I printed the words using my computer. There was a MS Word font that was called HP PSG,which I wondered if it stood for "Harry Potter" or "Hewlett-Packard"( my computer is a Hewlett-Packard). I'm not sure which it is, but it's a cool looking font and looked appropriate. The cupcake wraps I bought from Wilton.


Yum!

Thanks for stopping by!


Photobucket

Friday, November 18, 2011

A Girls Getaway Weekend

A couple of weeks ago I went upstate for a "Girls Getaway Weekend" with my mom, my two sisters and my stepsister.

It's hard for us ladies to do things together and be able to really visit  with each other because my sisters and stepsister, unlike me, have children and they are all fairly young. My stepsister also lives in Minneapolis. My stepsister comes to Wisconsin often to visit, but normally when she visits, naturally her husband and two children come also;  when we all get together with my sisters and their kids....well, you know that chaos often ensues!

Even though everyone has busy schedules, we made a plan for us ladies to leave kids and husbands behind and spend a weekend somewhere just to relax, have fun, play cards, visit etc. We chose a resort in northern Wisconsin, in the town of Warrens, which is near Tomah. Tomah is about halfway between where we live, and Minneapolis, where my stepsister lives, so it worked out well; it was only about a 2 hour drive for us and for her. We stayed at a resort called the Three Bears Lodge (HERE). In the first picture above, you can see some of the villas. There is a large main building which includes regular hotel rooms and suites, and also restaurants, and a 50,000sq. foot water park. Because it's off season, we got a great deal on one of the villas!

This was our villa for the weekend. The decor is very rustic and lodge-like, which is perfect for this area of the state, with all the tall pine forests, farms and cranberry bogs. There are many Amish in this area as well. In the spring, summer and fall months there is a lot of tourists in this area because of the Cranberry Festival,  the numerous campgrounds and the Wisconsin Black River State Forest. Cranberries are the state fruit of Wisconsin and are grown in twenty counties (out of a total of 72 in the state). Most of the cranberries produced in America are from Wisconsin.


We saw some of the cranberry farms that were near the resort, but they've all been flooded and harvested already. Our plan for the weekend, however, was mostly just to do a little shopping, visit the water park, soak in the hot tub, drink wine, play games, visit and enjoy each other's company!

This was our little porch attached to our villa. Behind the villa is a small stream with a walking path. Each unit also has a fire pit in back for summer and fall bonfires.
It's always interesting to me how different northern Wisconsin looks from where I live, just outside Milwaukee in the south-eastern part of the state. Southeastern Wisconsin is actually a lowlands area; it used to be a vast marsh and prairie. Milwaukee is actually in a large, bowl-shaped valley, called the Menomonee Valley, which was formed many millenia ago by glaciers. The same glacier that flattened most of Illinois, actually. In the Midwest, folks from Illinois, Iowa, and some of those states are often called "Flatlanders" around here!  ;-)

We arrived on a Friday night, had dinner, opened some wine and played a few hands of canasta before it got too late. The next morning we did some shopping.

Everyone else was gracious enough to let me stop at an antiques mall in Tomah. I can spend days in such a place...but I knew the rest of my party was anxious to move on, so I only "breezed" through.

Mmmmm.....a lovely collection of dishes that I would have loved to have!


I absolutely loved this desk; it would be perfect for Erik's "man cave!"

The price tag was a little steep and there would be no way for us to get it home, of course, so I took a picture of it with my phone and texted it to him just so he could see it!


The inside of our villa was very rustic too. This was the main living room; there was also a full kitchen and dining area behind me, which I forgot to photograph.

On the main floor were two bedrooms each with a double bed.

The quilts on the bed were very pretty and perfect for the rustic decor, with moose, pine trees, fish, leaf and farmhouse motifs.

The upstairs was an open loft with a steeply pitched roof. Up in the loft were four twin beds. I slept on the one on the left, under the eave!

Each floor had a bathroom; this was the upstairs one.

Following our shopping trip, we returned to the villa for lunch, then we walked up to the main lodge to visit the water park for the afternoon. It was a lot of fun! Then we went to soak in an outdoor hot tub for awhile and just talked and had fun. We returned to the villa that evening to shower and dress for dinner, which we had up at the main lodge, then we returned to the villa to have dessert, open up more bottles of wine, and play some games until late into the night!
My family has always enjoyed card games and board games and we often played games regularly at home when I was growing up. As young adults, we still loved to play card games, cribbage or board games at family gatherings and holidays and we often did at every chance. It's been harder to do this the last few years with the arrival of all the grandkids; there are now seven of them, ranging from age seven years to one year old. It was really nice for us girls to get away and I know it was nice for my sisters and stepsister to have some "me" time. It was especially enjoyable for my mom too, to have all her girls with her all weekend. My mom and stepfather were accustomed to playing cards just about every evening after dinner, or sometimes they played backgammon, which was a favorite as well. Since he passed away in 2003, my mom has really missed that, so it was really fun for her too.


While we were shopping the first day, I came across this print, done by a local artist, that I decided to buy.
To try and keep the glare off the glass, I took a photo really close up. The print isn't very large, only about 8x10 size. The style is sort of country/primitive, which isn't my style at all, but the picture just really struck me and I had to have it. I think it was the farmhouse and really, the whole composition. The farmhouse really reminded me of my Grandpa Al and Grandma Helen's farm (my mom's parents). They owned a large farm with a house that dated from 1850. It looked very much like this one, except it had a really big porch on the front. I love the crows on the fence too; there was lots of old wooden fencing like this on the farm. I have decided to hang this picture in the front entry hall.

We are going to try and plan a girls weekend every year now. We don't need to spend a lot of money or do anything fancy because really, the real point is to spend time with the ones we love.
Thanks for stopping by!
Photobucket